
Zwift makes indoor riding suck less. A lot less. As a cyclist who disdains the trainer, I previously limited myself to one spin class per week and chose instead skiing, snowshoeing or running as winter activities – anything to get me outside and off the stationary bike. But last year, Mr. Humdinger and I decided to buy a smart trainer and try Zwift. And despite having been a confirmed skeptic known to openly eye-roll when Zwifters pontificated, I fell for the game almost instantly.
I fell for the experience points, the sweat droplets, the ride-ons, the sprint and KOM/QOM challenges, the “close the gap” messages, and, I am more than a little embarrassed to say, I even fell for the garage. The garage is where you dress your avatar and buy new equipment. Of course, more kits and accessories are available as you ride more, earn points and level up. I knew I had succumbed to the blatant cheap psychological tricks early on when I whooped loudly and enthusiastically upon receiving a message that I had unlocked sunglasses. I have no idea why my virtual self, who has no retinas or corneas and is immune to UV light damage, needs sunglasses. But she does… She really, really does.
The game makes indoor riding more fun and engaging. I rode indoors from December to mid-March last year and then headed back outside, feeling much stronger than previous springs. I was motivated to get back on the road earlier, and had the confidence in my early spring fitness to take on longer, more challenging rides. Want to be in great shape for a bike tour in Ontario’s cottage country next summer? Read on and then ride on!
Why give indoor riding another chance?
If you are trainer-loather and outside-lover you may be hesitant to take this leap. But indoor riding has come a long way. The trainer used to be loud, lonely and accompanied by videos of coaches barking out boring drills to unbelievably bad techno music. The resistance felt nothing like being on the road. Now it is quiet, accompanied by real people in real time and incorporates visuals of actual places and a fun invented world. It still doesn’t feel exactly like being on the road, but it is so much closer. And it happens from the comfort of your own home, making is convenient and pandemic friendly.
Selecting a trainer
To get started on Zwift or other interactive cycling apps, you will need to make an investment in a smart trainer. These connect with the apps to give you a virtual reality riding experience. They automatically control the trainer’s resistance, getting harder on hills and rough surfaces and easier as you descend or draft. Higher-end versions provide headwinds and actually incline as you go up hill. More information and trainer reviews can be found in this Bike Radar article.
We opted for a basic Wahoo Kickr Snap, which makes use of the bike’s rear wheel. It is cheap by smart trainer standards and easy to set up. The main criticism is the rear wheel can slip, although we have found this can be nearly completely eliminated using trainer-specific tires and tightening the mechanisms properly. A more advanced (and more expensive) system is a direct drive trainer that requires you to remove the rear wheel and connect to the trainer with a cassette.
Setting up
The first thing is to find a space with Internet access and a power supply. Indoor riding is hot and sweaty, so a cool or even cold space is best, such as the basement, garage or attic. If those spaces are not available, a bedroom or nook where you can open a window will also do the trick. Furnish the space with a fan and a source of music and, if there is room, a decent-sized monitor placed in front of the bike to improve the riding experience. A small table beside the bike may come in handy, depending on your set up.
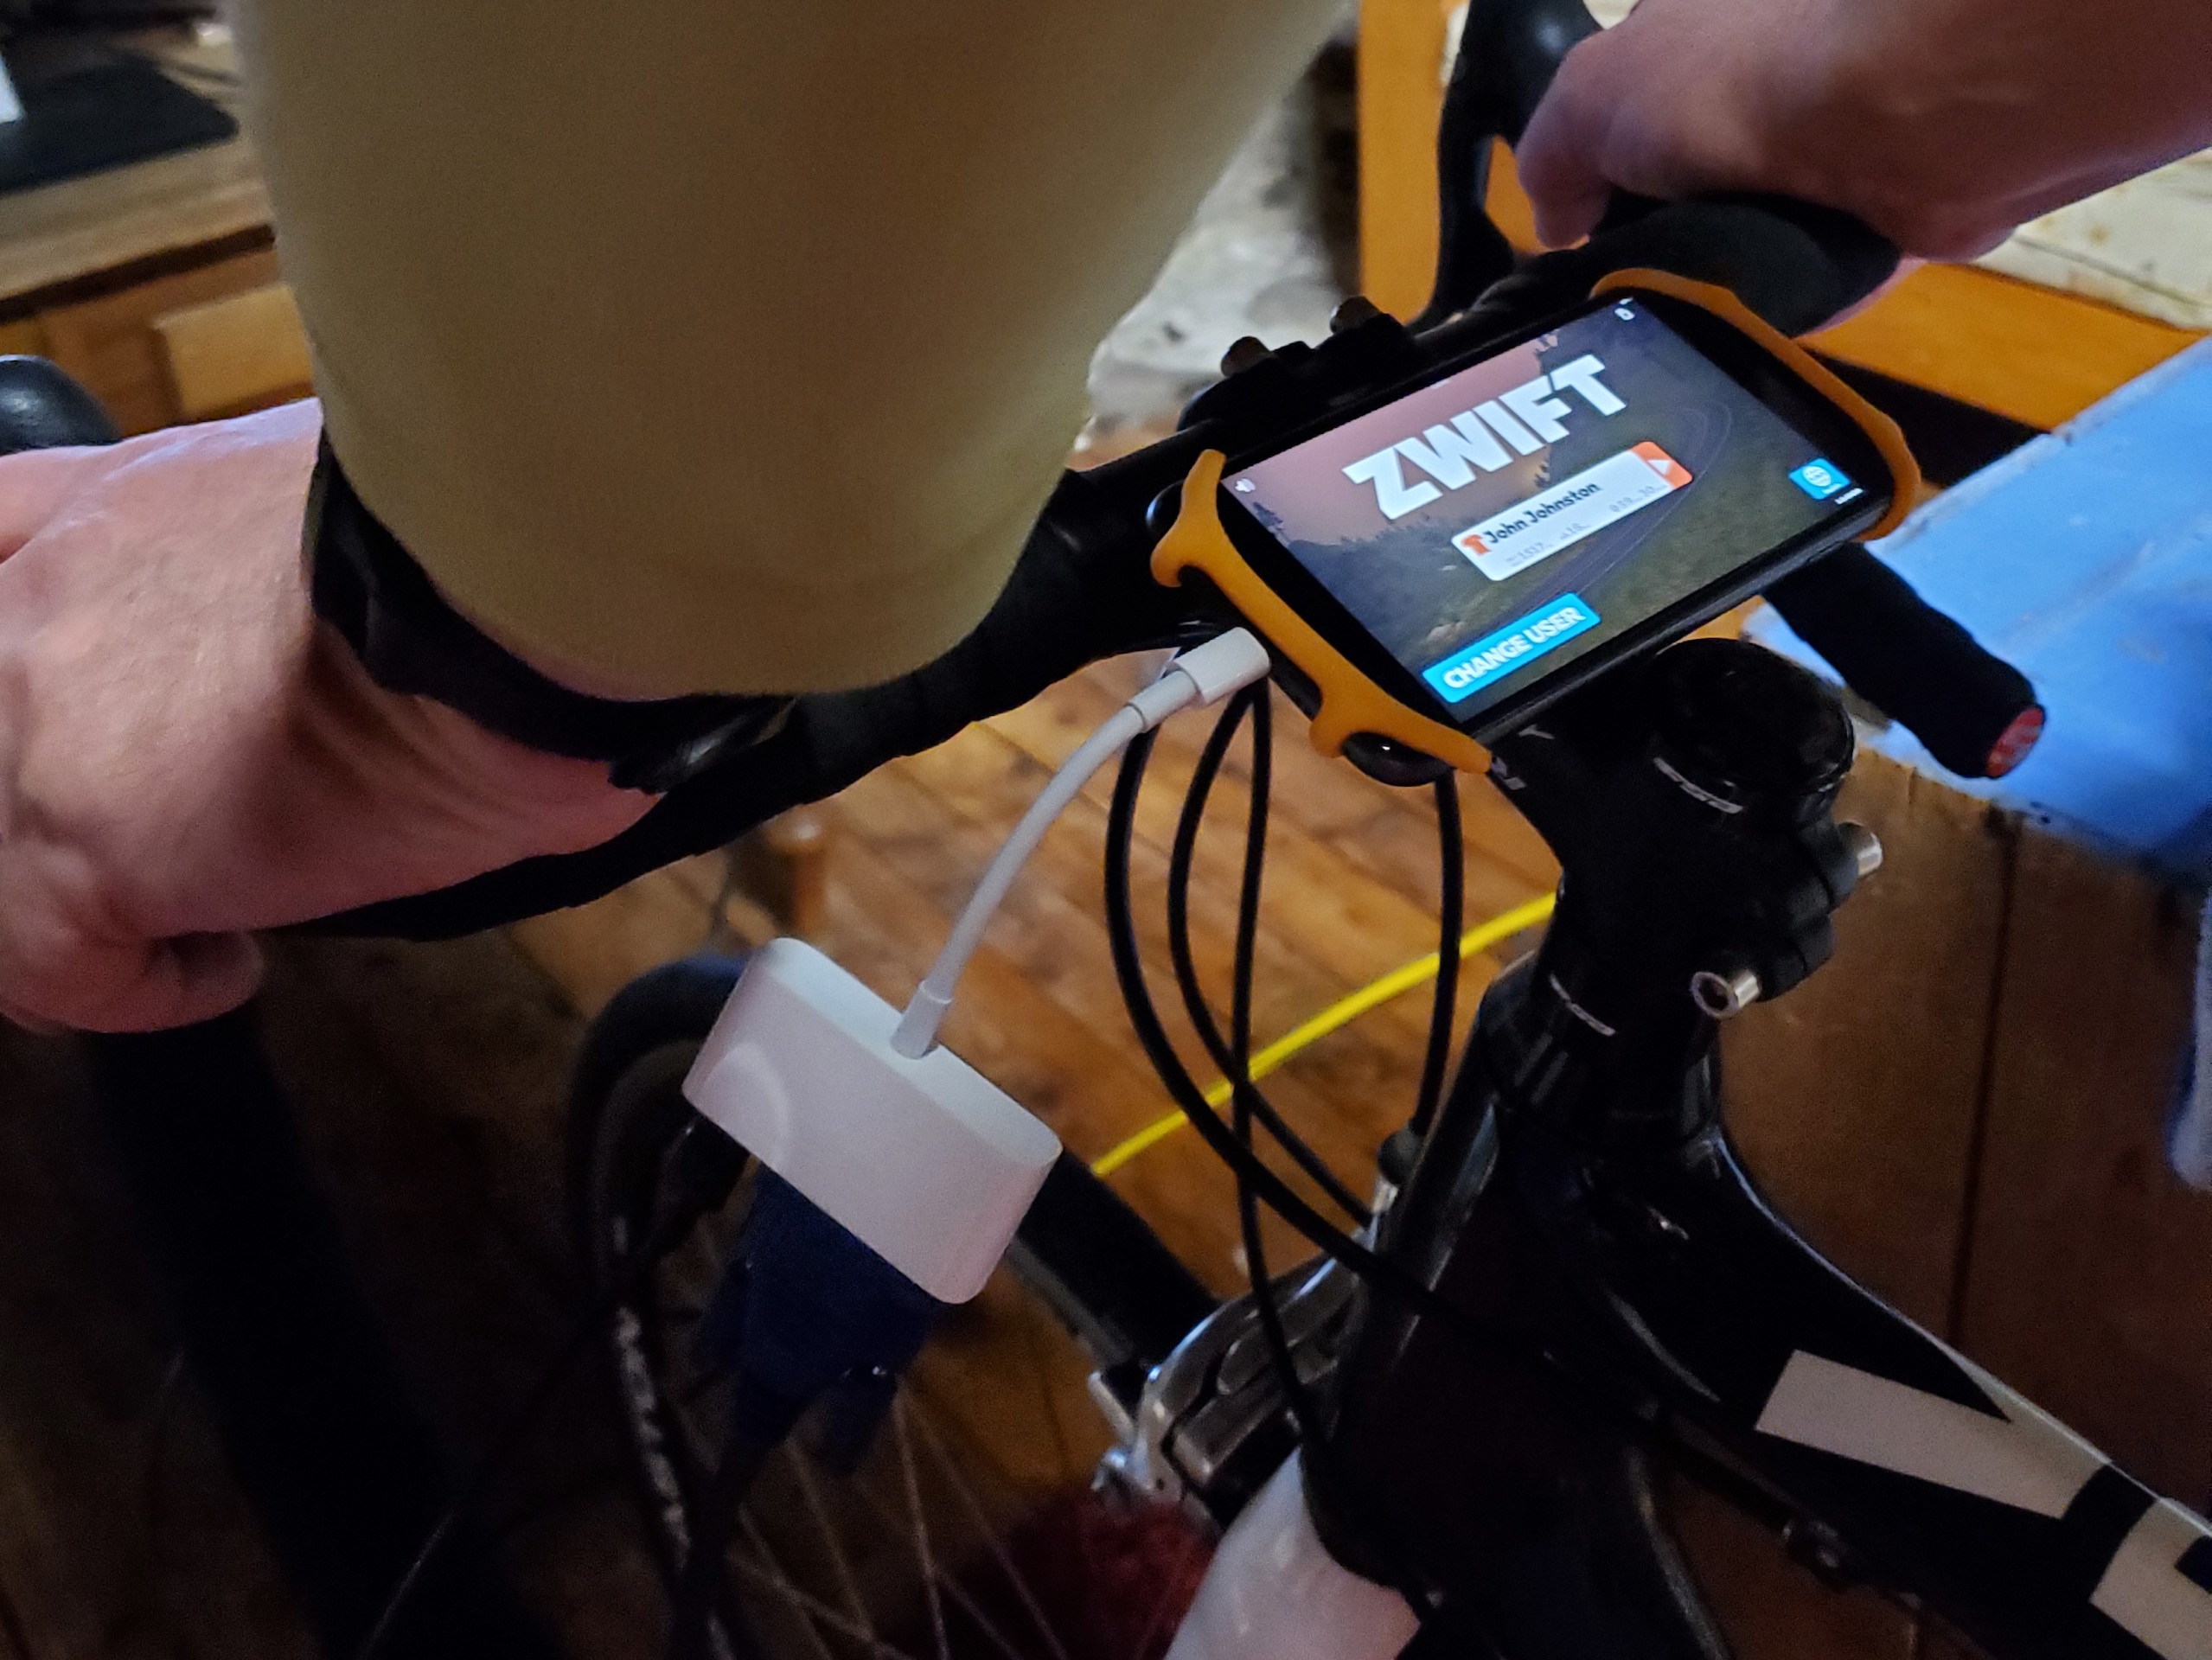
When it comes to assembling the trainer and mounting the bike, obviously follow the manufacturer’s instructions! If you are using a wheel-on trainer, it is a good idea to use an old tire or invest in a trainer-specific tire. Most trainers will come with a skewer – use that one or something similar that is designed to do the job – strong, and with caps that fit securely into the clamping mechanism. You may also want to treat yourself to some accessories, such as a cellphone or tablet holder for your handlebars.
To connect, I use the Zwift app on my MacBook, which is connected to the larger monitor. Mr H uses the app on his phone, and a connects that to the monitor with an adaptor. I sometimes also use the Zwift Companion on my phone. I found distinguishing the Zwift App and Zwift Companion functions confusing at first. Okay, I still find them confusing. The Companion is used in game for messaging and allows you to easily zoom in on the route map and other riders, but also duplicates information that is on the app, such as speed, distance, power, and other metrics. Personally, I do not use the Companion very much, unless I am on a group ride and want to chat. Others swear by it. A great source of information about all things confusing, and there are many, is Zwift Insider.

Getting ready for a ride
This is likely obvious to most of you, but as a naturally disorganized person, it usually takes me several failed attempts, inconveniences and disasters narrowly averted to get even a basic organizational system in place for a new activity. I have written about this failing as it relates to getting ready for the first ski of the season, something I have been doing for decades. At only 2 months into my second winter of Zwift, things are already falling into place!
It is important to have everything you need with you and reachable from your bike. The thing about being on a group ride in Zwift is, they aren’t your real friends. So if you have to stop and leave to refill your bottle or grab a towel, they are not going to wait for you. By the time you return, the group will have vanished into cyberspace. If you are doing your own ride, it is less of an issue, except you may run into a family member who tells you the toilet is clogged, or the tax people phoned or some other news you don’t need to hear during your me-time. Before you go to your cycling cave make sure you have visited the loo, gathered up snacks and enough water bottles plus a spare, a towel, your Zwift-accessing device AND its charger – the game seems to suck up batteries quickly. Get to the cave early if you are doing a scheduled event or group ride, as logging on can take a surprisingly long time.
Dress in layers. You will likely get hot and sweaty but it may be chilly to start. I usually dress as if it were hot day in July and then put a zip-up hoodie over top that is easy to remove once warmed up. If you find your toes are getting cold, try wool socks or even cycling booties. A towel is an absolute must.

The upshot
I will still opt for an outdoor workout over Zwift, but I aim for 3 hours indoors per week over the winter, in 2 to 3 sessions. Overall, I am more active in the cold months than before, as I have an excellent option on those days when the weather is just too nasty to get outside. And it provides an excellent cover for my fair-weather outdoors-person secret, as in, “I would love to ski with you in this gorgeous minus 15-degree weather and enjoy the 40kph winds driving snow pellets into my face, but sadly, today is my Zwift day.” Interactive indoor riding is a great cardiovascular workout, will add fun and variety to your winter regime, and may be one of the key ingredients in being stronger and fitter when the snow melts.